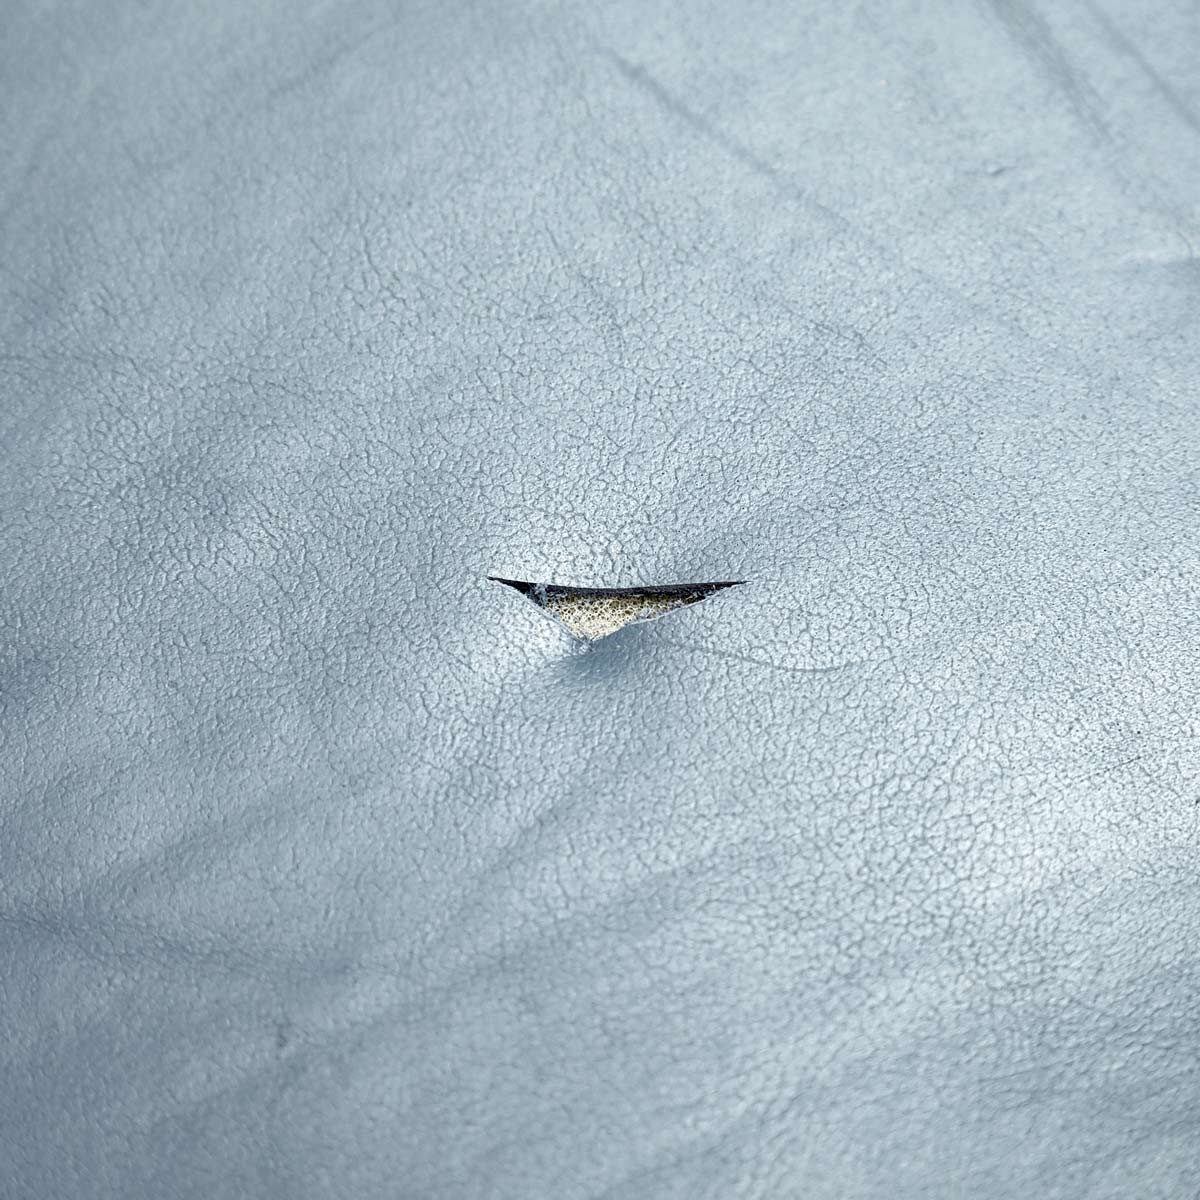
Check out this leather repair guide for simple, DIY fix for tears and holes.
1 to 3 hours
Beginner
$10 - $40
Introduction
Learn how to use inexpensive, DIY-friendly repair kits to fix small tears in leather or vinyl car seats and chairs before they get big and ugly.
If you walk around with tools in your pockets, don’t be surprised if you tear a hole in your leather car seat, sofa or easy chair. If a perfect repair is important, call a pro to fix it. But if you just want to prevent further tearing, you can fix it yourself with a leather/vinyl repair kit.
Kits are inexpensive, and a leather chair repair can take only an hour. We spoke with Shawn Witt, owner of Luxury Leather Repair for help with how to repair damage to leather furniture and car seats.
How to Use a Leather Repair Kit
The steps will vary, depending on the leather repair kit you purchase and the type of damage you’re repairing. Here, we’ll focus on repairing a tear or puncture with a patch-type leather repair kit. These usually entail gluing a piece of reinforced fabric on the underside of the damaged area, then applying a repair compound and color-match dye.
Materials Required
- Leather/vinyl repair kit
Project step-by-step (8)
Clean and prepare the leather
Follow the cleaning instructions in the kit and trim the damaged area to remove any frayed edges.
Apply the provided leather cleaner to the damaged area with a soft cloth and rub with medium pressure. This will remove any skin oils, lotions or dirt in the leather surface. “Using the correct product is key here,” Witt says. “With leather being an organic material, it will not always react the same to products that are not created specifically for leather.”
Use scissors or a utility knife to carefully cut away thin or frayed edges on the damaged area to allow for a stronger repair bond.
Glue in the reinforcement fabric
Cut the provided patch cloth so it extends under the tear by at least 1/2 in. This will serve as the backing for the repair compound. Glue it in place and let it dry for the recommended time.

Apply the repair patch filler
Using a plastic pallet knife, spread repair filler over the damaged area. The goal of the first layer is to achieve a bond with both sides of the damaged area to join them when cured. Add two more thin layers of filler until you are even with the surface, or slightly above. Wait several hours for the filler to dry before proceeding to the next step. Some kits will need heat applied to dry the filler.
Choose a dye color
Finding a close match to the color and sheen will be key to the final look of your repair. Witt’s company encourages customers to send in a leather sample for the best match. “By sending a sample, we are able to fully match not only the color, but also the sheen of the leather, which is essential for a flawless restoration,” he says.
If making an automotive repair, “call your local dealership and give the parts department the vin number of your vehicle. With that information, they can look up the specifics of that exact car and provide a color name for the interior. Color name is how we would match their interior to our color choices available,” Witt says.
For other leather repair kits, carefully match the available color options to your area of leather repair by eye.
Color dye the repair
Apply leather dye to the damaged area and the surrounding leather to a seamed edge. Gently rub the dye into the leather and blend. Use a hair dryer to apply heat and speed up the drying process. Apply several more coats of dye until a uniform color has been achieved, then dry.
Cure the patch (if required)
Depending on the type of kit you’ve purchased, you may have to cure the patch with air or heat. Review your kit’s instructions for when and how to cure your patch and follow the steps closely.

Check out the results
The patch won’t be a perfect repair. But it sure beats the look of a tear or burn in your leather furniture.

FAQ
How long do leather repairs last?
Witt says that repairs made with his Luxury Leather Repair kits should last five to seven years.
What is the flller in leather repair kits?
Leather repair filler’s exact ingredients will vary, but it is generally made from a mix of acrylic resins and binders that dry strong yet flexible.
About the Expert
- Shawn Witt is the founder and owner of autoleatherdye.com, a commerce site offering DIY Luxury Leather Repair and Conditioning products for automotive upholstery and furniture.


